Difficulty: Beginners
Your Die Cutting Machine Craft Course
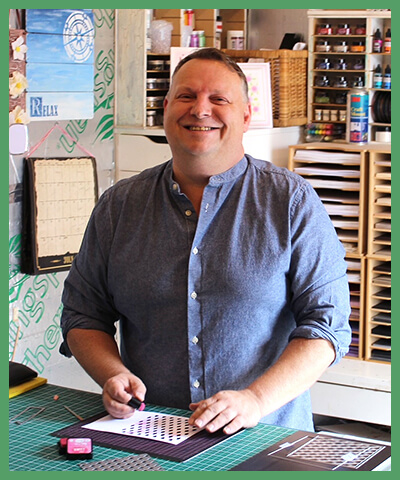
By John Lockwood
This course will teach you how to use a die cutting machine. This course runs over 6 lessons where John starts with the basics of getting it out of the box and setting it up and then shows you how to cut and emboss with metal dies, how to emboss with both 2D and 3D Embossing folders, how to use your machine with different types and thickness of dies, how to cut specialised materials such as Fabric, Felt & Metal and how to make a frame. John will be using the GoPower and Emboss machine however the course can still be joined with any die cutting machine.
How to get the most from your Die Cutting Machine
Introduction - overview of course which is how to get out of the box and set up, how to cut and emboss with dies, how to use Embossing folders, how to use different types and sizes of dies, how to cut specialised materials and how to make a frame.
You Will Need:
- Die Cutting Machine
Video Tutorial - Step by Steps
Tutorial Step 1 - Setting up your machine - with John Lockwood
John Lockwood guiding you through the Couture Creations Go Power and Emboss machine, covering everything from unboxing to basic operation. Exploring the importance of understanding your machine and plate combinations, starting with what's inside the box, including dies, embossing folders, and various plug options.
John demonstrates setting up the machine, plugging it in, and navigating its basic functions like the run and reverse buttons. Additionally, we'll discuss plate combinations and their purposes, including the metal shim for specialty fabrics and embossing mats for adding texture. By the end, you'll be ready to dive into die cutting and embossing with confidence.
Tutorial Step 2 - Cutting and Embossing with Metal Dies - with John Lockwood
In this segment, John Lockwood demonstrates the basic procedure for cutting and embossing with a die cutting machine. They begin by explaining the components included in the machine, such as dies, embossing folders, and plate combinations. John emphasizes the importance of using the correct plate combination, with the B plate on top to prevent warping. They then proceeds to demonstrate cutting a die using a piece of card and securing the die with low tack tape.
After running the die through the machine, they shows how to remove the cut pieces and suggests using a poke tool or ruler to clean the plate. John also demonstrates using a metal shim to add more pressure for intricate dies. Additionally, they shows how to emboss a die using a rubber mat, resulting in a beautifully curved edge on the cut piece. Through clear explanations and practical demonstrations, John covers the essential techniques for die cutting and embossing with precision.
Tutorial Step 3 - Using Embossing Folders - with John Lockwood
How to use different types of embossing folders with an A4 die cutting machine. John explains the two main categories of embossing folders: standard 2D folders and 3D folders. First, he showcases a standard 2D embossing folder, which produces a flat raised pattern. John places a piece of satin card inside the folder with the pattern side facing up and runs it through the machine with the appropriate sandwich combination of base plate, embossing folder, embossing mat, and C plate. The result is a beautifully embossed pattern on the card. Next, they demonstrates how to achieve a 3D embossed effect using a similar process but with a 3D embossing folder.
John runs the card through the machine with the appropriate sandwich combination, resulting in a stunning 3D embossed pattern on the card. Emphasising the importance of testing different sandwich combinations to achieve the desired embossing effect and showcases the versatility of the A4 die cutting machine in creating intricate and dimensional designs on various materials.
Tutorial Step 4 - Using different types and styles of dies - with John Lockwood
John Lockwood demonstrates cutting different styles of dies with the GoPower and Emboss machine. Learning about standard thin metal dies versus steel rule dies (Bigz dies), as well as other die types like originals and multimedia dies. You can see how to cut with a multimedia die, which can handle thicker materials like chipboard. John emphasizes testing different plate combinations for optimal results. Gain insights into the machine's versatility in handling various die styles and materials.
Tutorial Step 5 - Cutting specialised materials - with John Lockwood
In this demonstration, John shows how to cut various materials using a die-cutting machine. They cover fabric, acetate, and thicker materials like Hessian and gilded card. For fabric, John adjusts the sandwich by adding a metal shim. They demonstrate cutting cotton fabric and felt, securing the die in place with tape. Throughout, John provides valuable tips for adapting the machine for different materials, enhancing its versatility in crafting projects.
Tutorial Step 6 - Making a frame - with John Lockwood
John Lockwood guides you through creating a beautiful frame using a die-cutting machine, addressing common challenges along the way. They start with coconut white card and template sheets to position the dies accurately. John explains the importance of adjusting the placement of dies to ensure even cutting, demonstrating how to address issues like incomplete cuts caused by the machine's rollers. After adjusting the orientation of the card, they run it through the machine again to achieve perfect cuts. Finally, John highlights the precision and consistency achieved with a die-cutting machine, emphasizing its advantages over traditional cutting methods.